Property Preparation Steps For Large Tree Removal
Removing a large tree from your property isn't something you handle on a whim. Whether you're dealing with a dying tree, one that's become a safety concern, or you're clearing space for construction, this job takes planning. Large trees can be unpredictable once cutting starts, which is why preparation ahead of time makes the whole process safer and smoother for everyone involved.
Tree removal often becomes necessary after storm damage, disease, root problems, or when a tree grows too close to a structure. It's not just about bringing down the trunk. It's about protecting your home, surrounding property, and anyone nearby. Taking steps before the crew arrives can prevent costly accidents, delays, and last-minute scrambling.
Why Preparation Is Important
Trying to remove a big tree without planning is like trying to pull something heavy from a crowded storage room. Branches fall, things break, and there's a good chance someone could get hurt. Large trees often have hidden weaknesses that make them behave in unexpected ways. Combine that with nearby structures, fencing, or outdoor furniture, and the risk goes up fast.
Preparation helps reduce surprises during the removal. It gives the crew room to work, keeps your property out of harm's way, and makes it easier for them to safely remove the tree one section at a time. Without these steps, you may end up with damaged siding, broken irrigation fixtures, or worse, personal injury.
Another common issue is timing. If a tree poses an immediate risk and crews have to respond quickly, any obstacles left on the property turn a simple job into something more complicated. Rushing to move a barbecue grill, for example, while chainsaws are already running, means avoidable stress for everyone. Laying the groundwork early helps everything flow better.
Steps To Prepare Your Property
Here are some practical steps to get your yard or site ready for large tree removal:
1. Clear The Area Around The Tree
Before any work begins, walk around the tree and remove anything you wouldn't want damaged. This includes patio furniture, potted plants, garden tools, toys, or decorations. These items can get crushed or turn into tripping hazards.
If you have pets or kids, keep them indoors or arrange for them to be elsewhere during the scheduled removal. It keeps the environment calm and avoids any close encounters with falling debris or equipment.
2. Inspect The Tree And Surroundings
Take a good look at the tree ahead of time. Are there hanging branches that look dead? Have you noticed any leaning or cracks in major limbs? It helps to make a note of anything unusual. Even photos can be useful.
Now check the area around the tree. Look for wires, fencing, structures, or anything else that might get in the way or be at risk. Tree limbs sometimes come down farther than expected, and hard-to-see objects like sprinkler heads or buried lighting are often forgotten. Crews can work around those areas better if they know about them in advance.
3. Mark Safe Zones And Danger Zones
Once you know what's around, it's smart to section off the area. Use cones, small fencing, or even flags to give people a clear idea of where they should and shouldn't go. It's helpful if you've got people on the property while work is underway.
- Safe zones: Where people can stand if they must be nearby
- Drop zones: Where limbs or trunk sections might fall as the tree is cut
- No-go zones: Areas right under or around the tree once crews start
This kind of planning isn't just about safety. It speeds up the process and gives everyone more peace of mind.
4. Coordinate With Neighbors If Necessary
If the tree is sitting near a fence or straddles a property line, you'll want to give neighbors a heads-up. Falling limbs might extend into their yard, and they may need to move their cars, patio gear, or pets for a short time.
Even if the tree is mostly on your side, it's respectful to let them know that loud equipment and workers will be active if they're nearby. If there are any shared utilities like power or water lines, make sure you understand how they're routed around the tree.
5. Consult With Professionals
Once your property is cleared and inspected, it's time to link up with professionals. They'll know what gear to bring and how to plan the removal timeline based on the tree's size, health, and location. Use this chance to ask questions about what to expect and let them know about any concerns you found during your walkthrough.
Topics to bring up during this meeting:
- Will heavy equipment be needed, and if so, where will it be placed?
- Do you need driveway or lawn access for vehicles or machinery?
- What precautions are being taken to protect nearby structures or landscaping?
- Will the stump be removed that day or scheduled separately?
One homeowner had a tall cottonwood that needed to come down. What looked like a clear drop zone actually had a shallow irrigation system buried in the lawn nearby. By walking the space with the removal crew and using simple spray paint to mark the area, they helped avoid digging an unexpected trench. Communication and a little prep saved them a lot of cleanup.
Getting your yard or job site ready before large tree removal sets up the entire process for success. From protecting your property to keeping people safe, it's all about giving the project enough space and time to run without interruption.
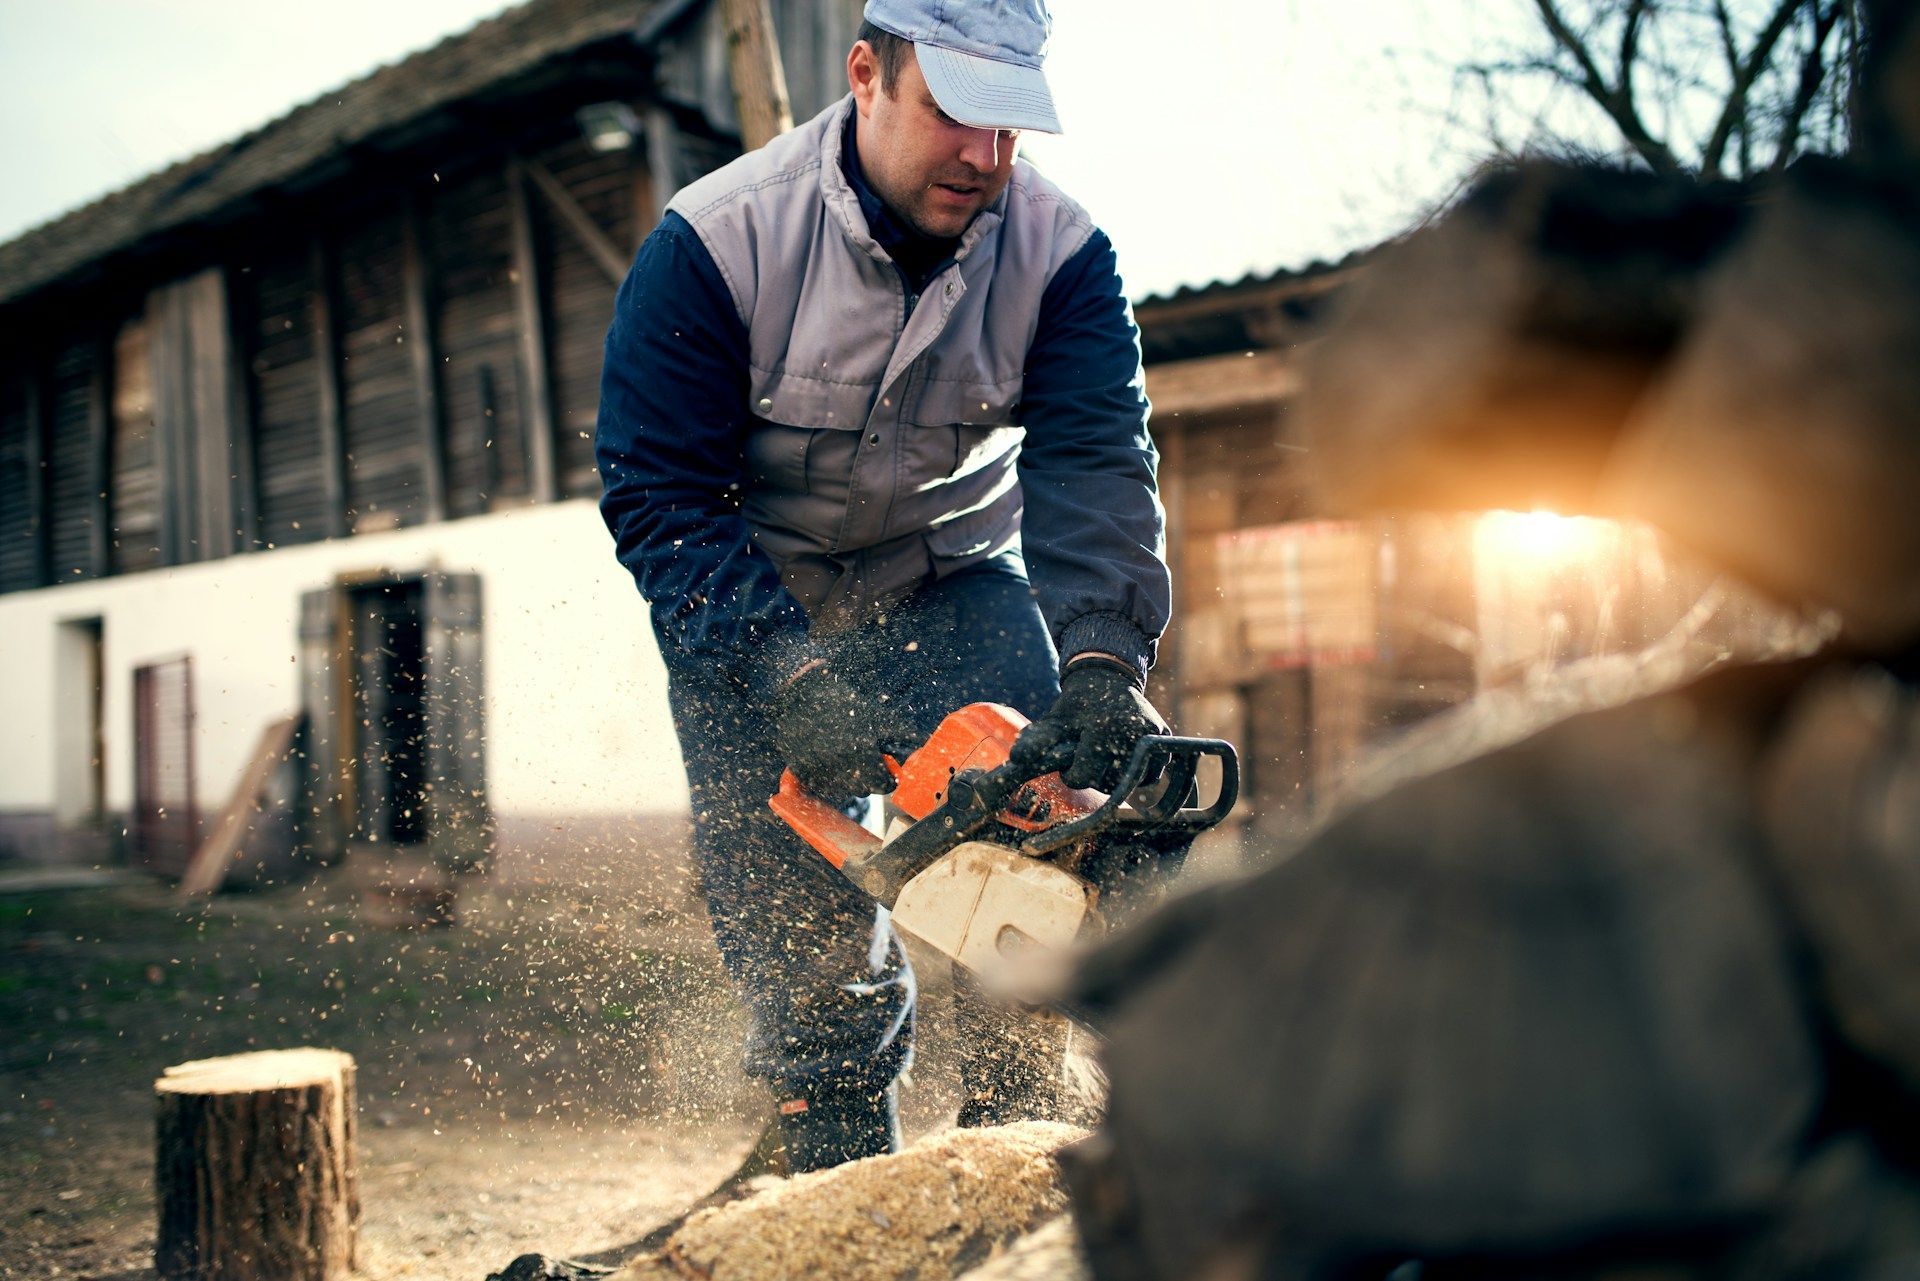
What To Expect On The Day Of Removal
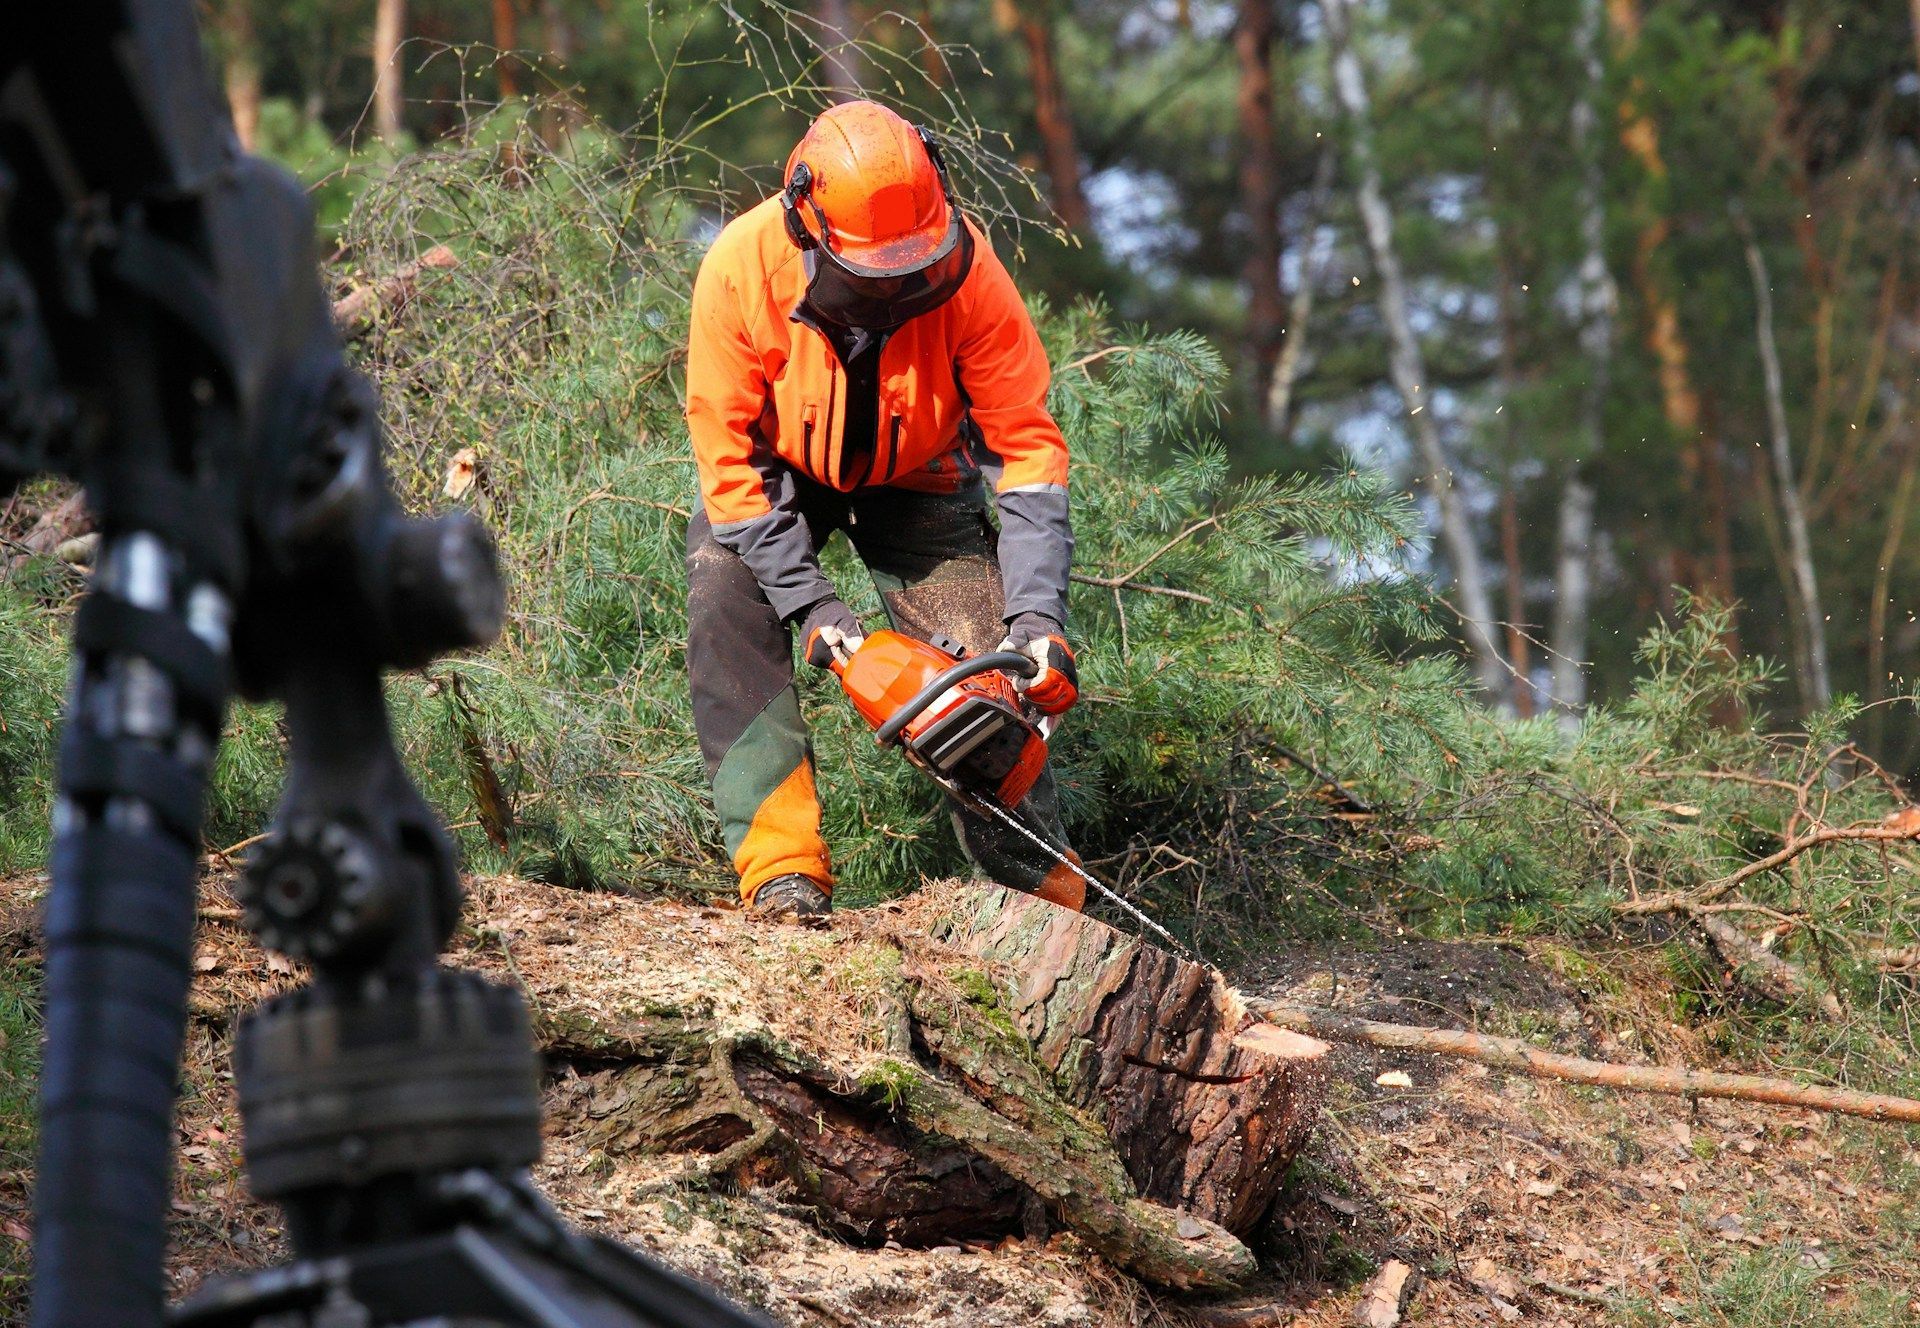
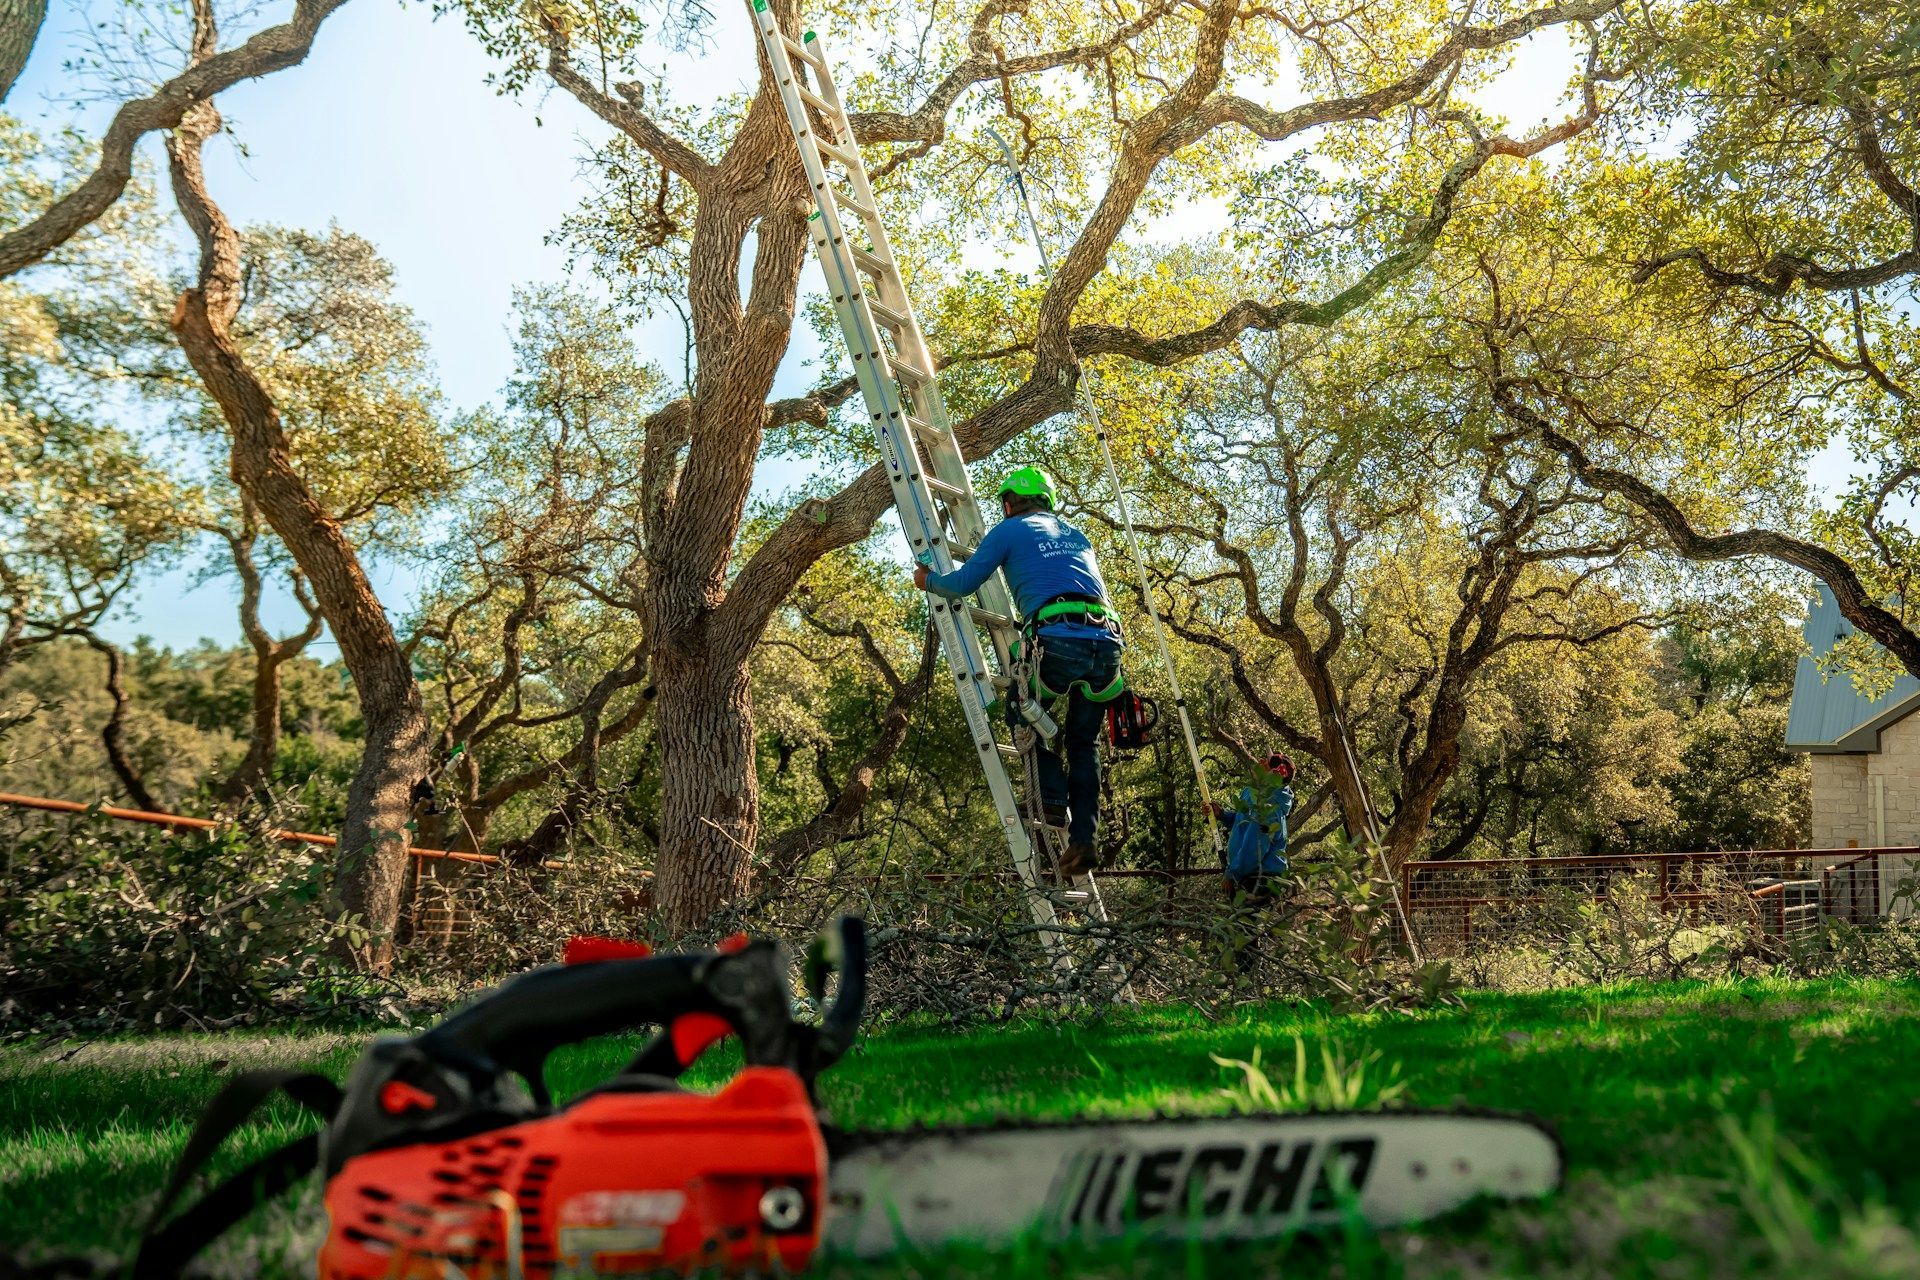
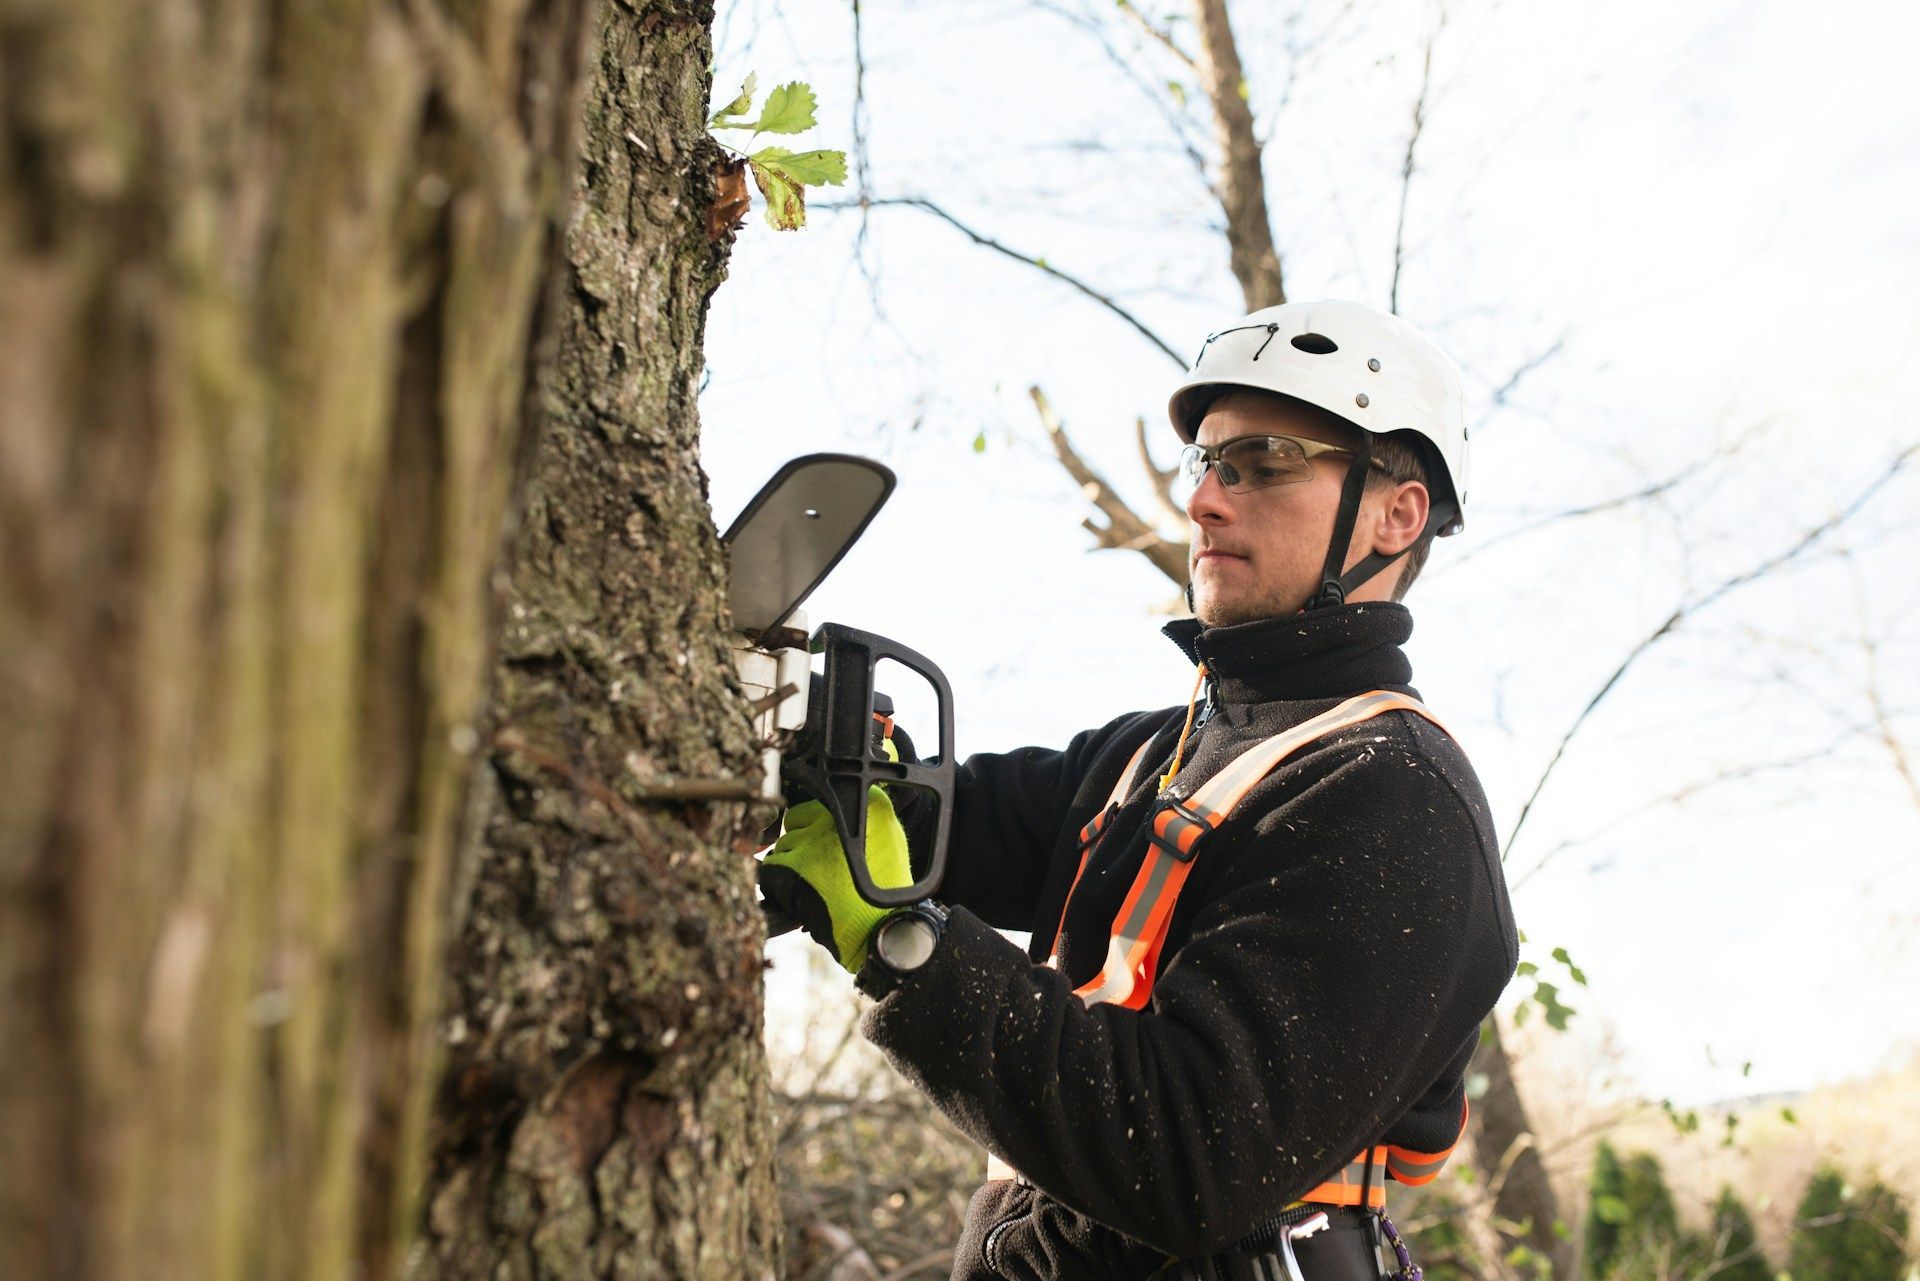
Once preparation is complete, the actual tree removal day should run smoothly if everyone is on the same page. A professional crew will usually show up with all the tools and gear they need, from safety harnesses and climbing equipment to chainsaws and haul-away machinery. The size, age, and condition of the tree will determine how the process unfolds.
Before starting, the team will usually do a final walkthrough of the site. This helps them double-check marked zones, confirm access points, and account for anything that may have changed since the initial visit, such as the movement of cars or new obstacles like garden tools left out. Communication is key here. Expect the lead crew member to confirm the details you've already discussed.
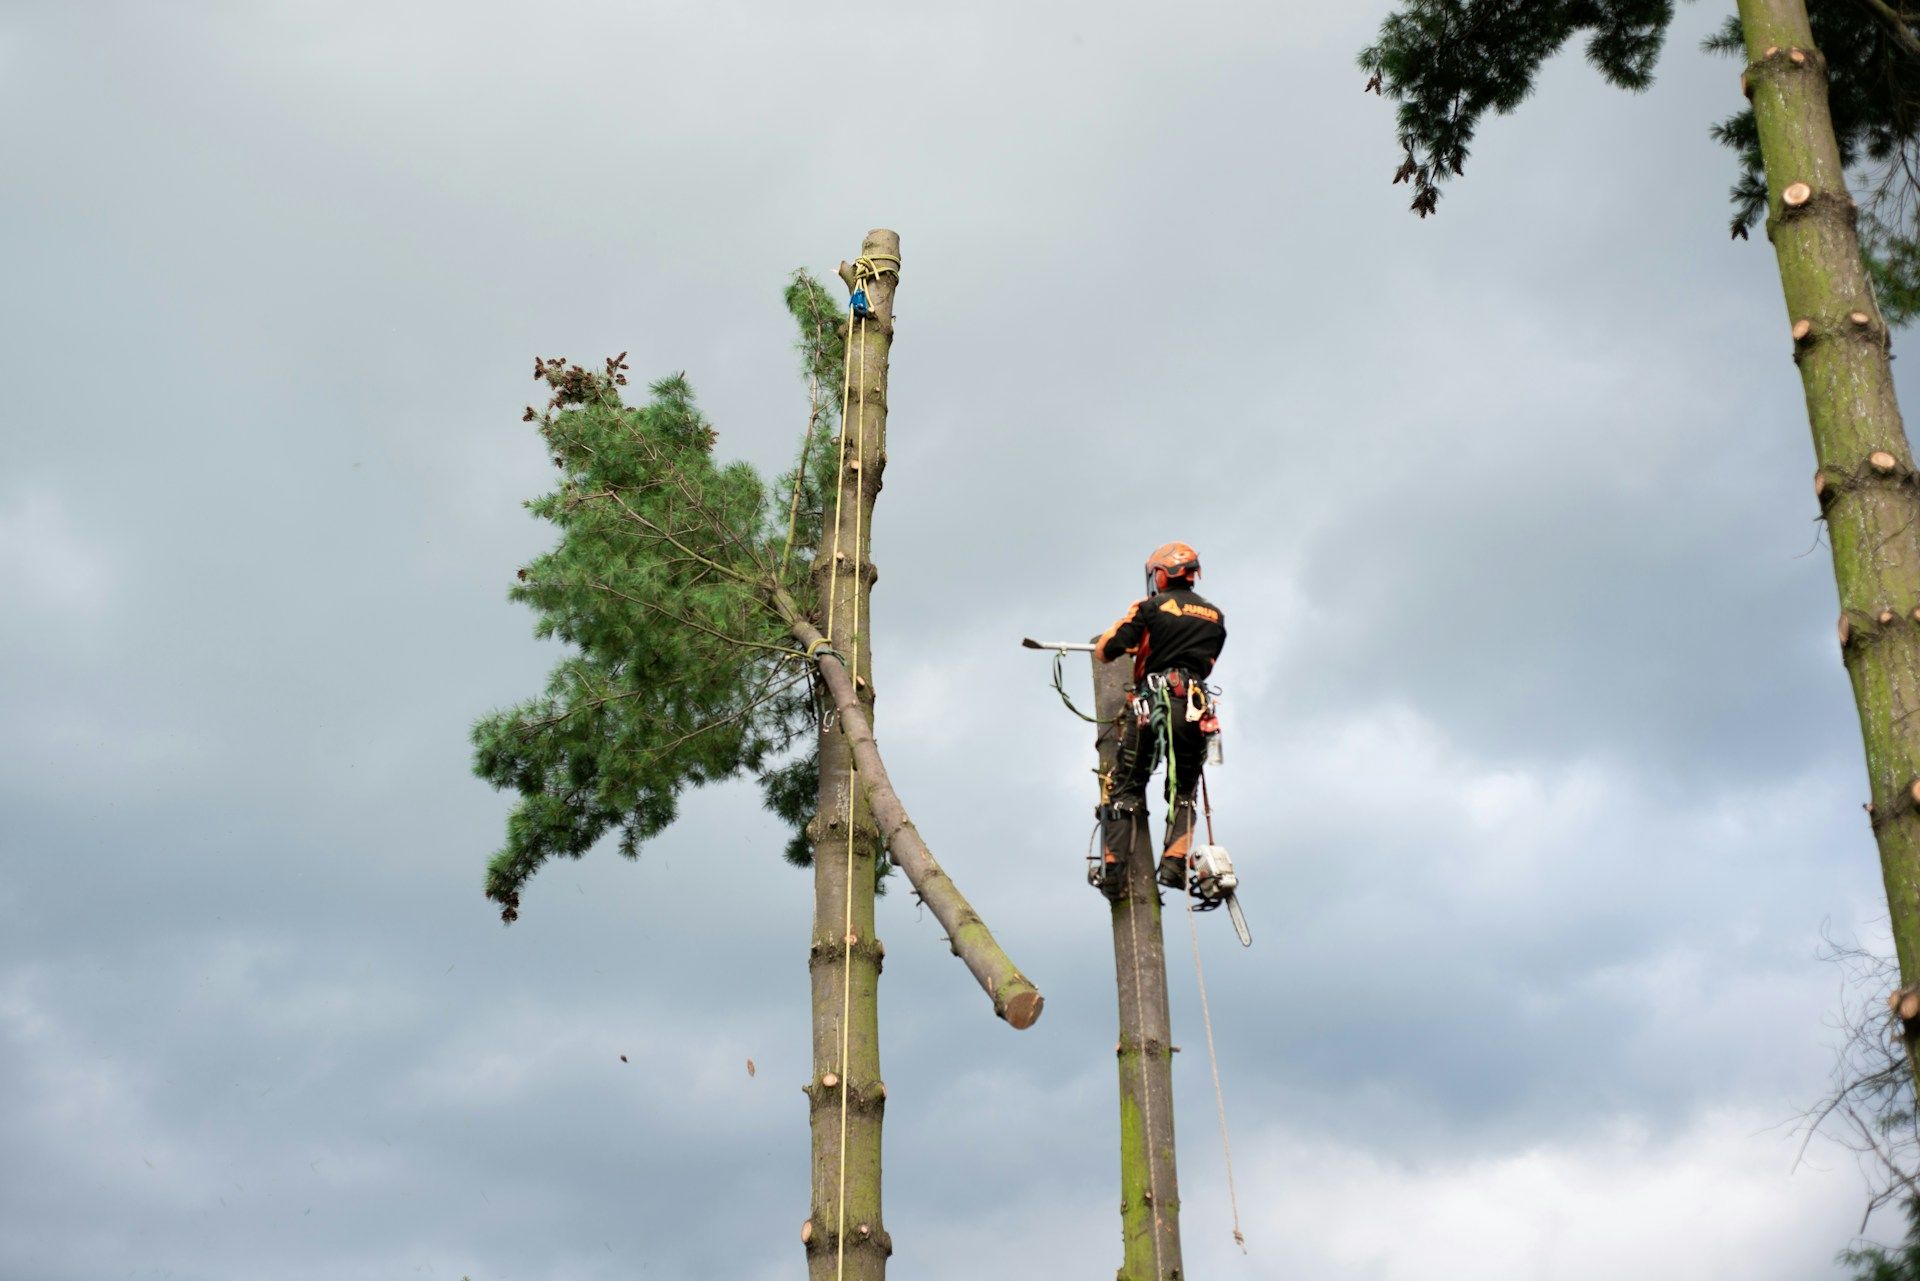
The tree will usually be taken down in sections. Workers start from the top, using ropes and climbing gear or a lift. They'll cut and lower limbs to the ground one by one, being cautious around any nearby fences, sheds, or power lines. Large sections of trunk are often cut last and dropped in a controlled way or lowered using machinery. Depending on the tree, this might take a few hours or most of the day.
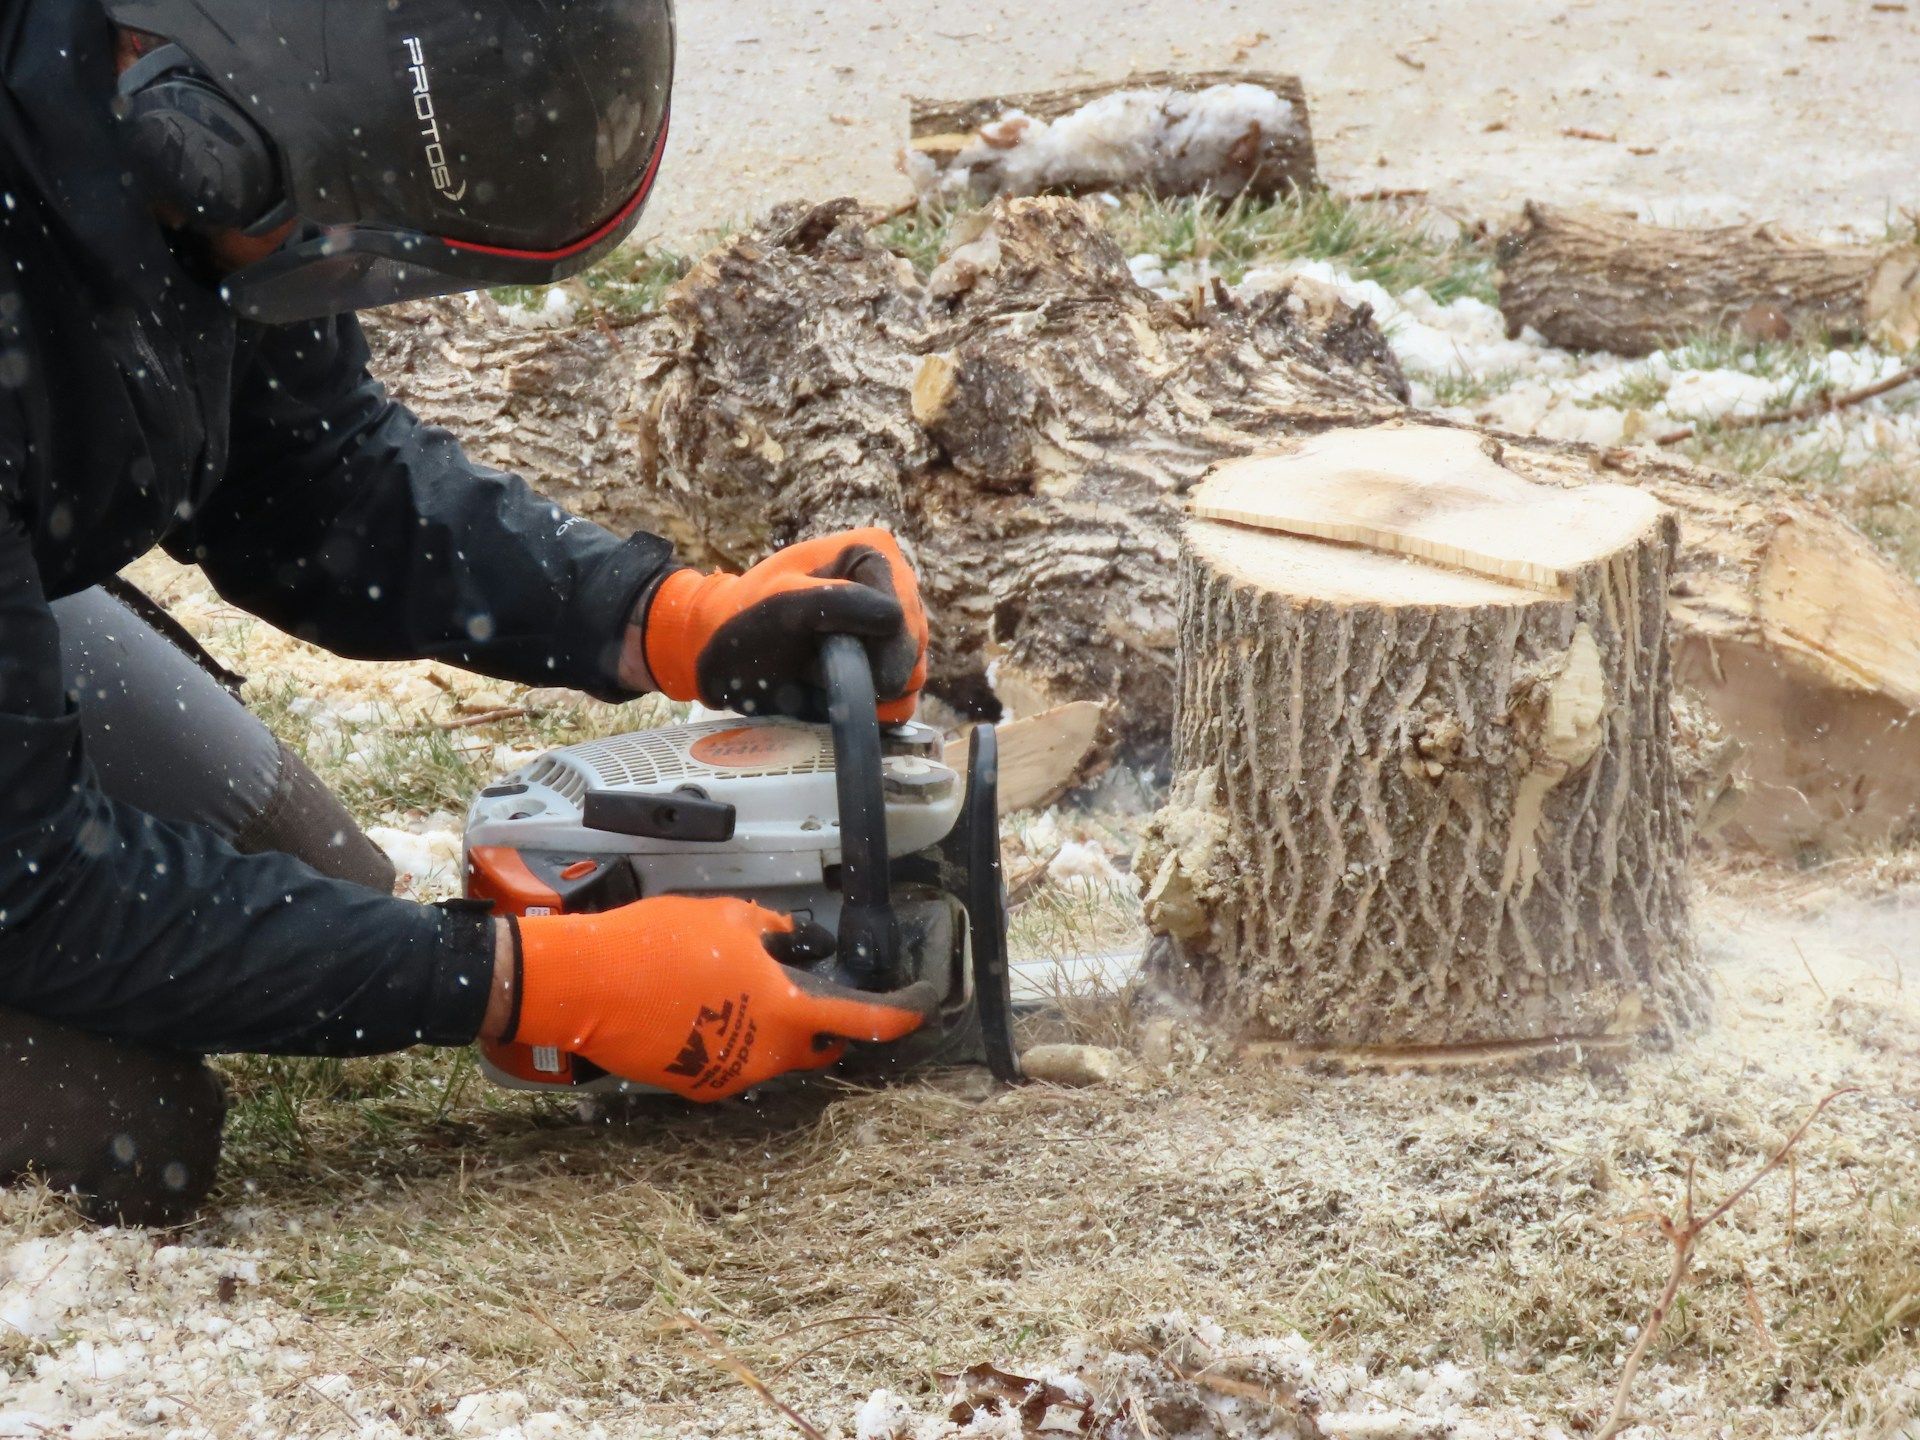
After the tree is taken down, cleanup starts. The crew will gather limbs, rake smaller debris, and often use a wood chipper either on site or for hauling the material away. If stump grinding is part of your service, it usually happens at this point too. Depending on the equipment and layout, they might need access to your driveway or yard to grind the stump down below ground level.
Keep any pets and kids away from the area until cleanup is completely finished. This avoids tracking sawdust or stepping on leftover fragments. Once the job is done, it can be surprisingly quiet and empty where the tree once stood.
Restoring Your Yard After Tree Removal
After a big tree is taken out, there's often a bit of a gap, both literally and visually, where it once stood. Depending on the size, the area may look bare or even uneven, especially if a stump was ground down. While it can be tempting to immediately plant something new, it's better to give the soil some time to settle and recover.
Here are some steps to help your yard get back to normal:
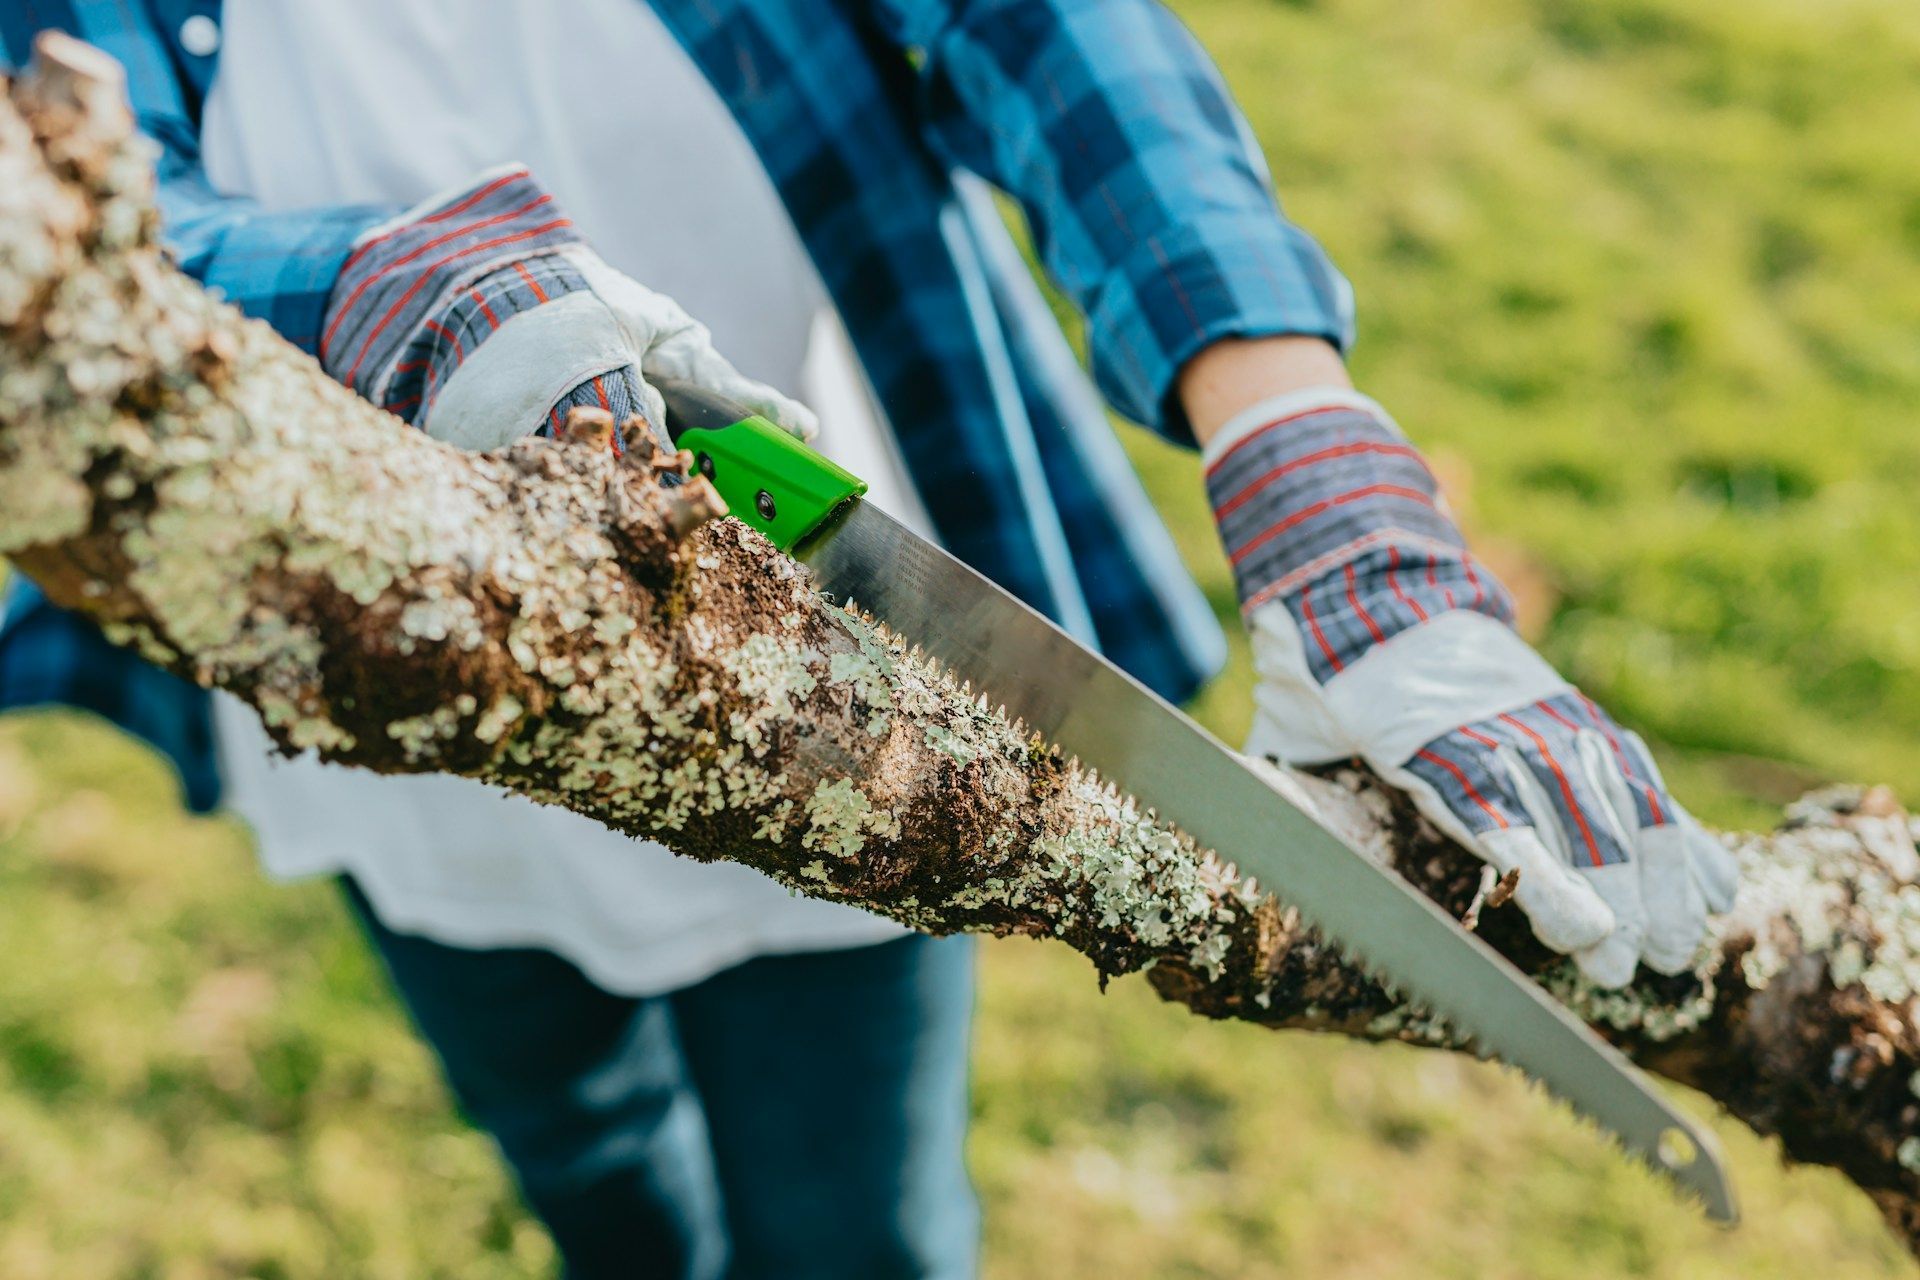
- Remove leftover debris. Even if cleanup was handled, small branches, bark, or wood chips often get left behind. Give the spot a final sweep or rake to clear the surface.
- Fill any holes. If roots were lifted out or the stump was removed, you may see a depression or uneven spot. Topsoil can help fill those gaps. Let the area settle for a few days before seeding or planting anything new.
- Seed the area if you want grass to grow back. Choose a type that matches the rest of your lawn. Keep it lightly watered and avoid heavy foot traffic for a few weeks.
- Hold off on planting large trees in the same spot unless you've had the soil assessed. Remnants from the old tree roots can affect new growth, especially if the tree was removed due to disease or heavy root damage.
- Schedule a follow-up inspection with your tree care provider if needed, especially if nearby trees showed any signs of stress or if large roots ran under hardscape.
One homeowner decided to turn the cleared area from a tree removal into a small sitting spot by adding gravel, a bench, and some potted plants. It was a simple transformation that didn't require much effort but made smart use of the sudden open space in the backyard.
Tree removal changes the layout and feel of your property. Whether you rebuild, reseed, or just leave the space open for light and air, keeping the area safe and maintained protects your investment in the long run.
Trust Tree Experts For Your Tree Removal Needs
Big tree removal isn't something to take lightly, and property prep plays a huge role in how smoothly it all goes. When you're working with experienced professionals who know what to expect and how to handle tough situations, the process becomes more manageable. If you're thinking about removing a large tree, our team at Tree Experts, LLC is here to help you do it safely and responsibly. Get in touch with us to schedule an estimate or ask questions about your property's tree removal needs.
Ready to ensure your property's safety with professional expertise? Choose tree removal with Tree Experts, LLC for a seamless and responsible process. Our experienced team is committed to handling all the heavy lifting so you can enjoy peace of mind and an enhanced landscape. Contact us today to discuss your needs and arrange a personalized assessment.


Share On: